A thermal layer changes the details
External Wall Insulation Sandbach | Walls and Junctions
External wall insulation adds more than a new surface. It changes the position of the finished wall and the way that wall meets windows, roofs, pipes and adjacent construction. A small Sandbach extension needs those details considered just as carefully as a full-house scheme. The proposal should identify the wall construction, the complete system and the adaptations required around it before a decorative finish is selected.

On this page
Begin with the building and the intended upgrade
Establish the existing wall construction and condition, including earlier alterations and any moisture-related defects. The assessment should consider whether external insulation is appropriate for that part of the building and how it fits with the wider retrofit proposal. A cold room does not, by itself, identify the wall as the only source of heat loss.
Ventilation and moisture management belong in the discussion alongside insulation. They should not be left as an afterthought once a thicker exterior has been agreed. The required design and any regulatory checks depend on the building and work. General guidance can explain the issues, but it cannot specify an individual property from its age or postcode.
- Existing wall Prepared; fittings removed and the base track fixed above ground level.
- Insulation boards Bonded with adhesive and, in most systems, mechanically fixed to the wall.
- Basecoat with mesh Reinforcement mesh embedded across the board joints and around openings.
- Primer Where the system requires it.
- Finish render A thin-coat finish that weatherproofs the insulation.
Wall on the left, finish on the right. Not to scale: coats, thicknesses and primers follow the chosen manufacturer’s system and the condition of the wall.
Specify a complete system
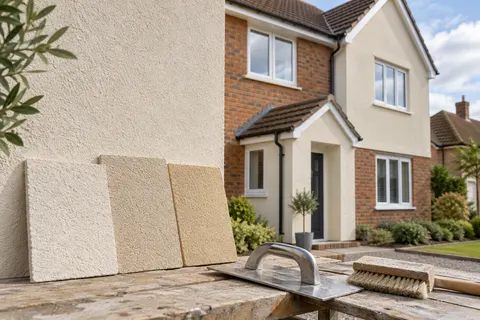
The insulation, fixings, reinforcement, base layers and finish need to work together as the specified system. Their roles should be clear in the quotation. A decorative silicone finish may be one part of that build-up, but its name says nothing by itself about the insulation thickness or the resulting thermal performance.
The background must be suitable for the chosen fixing and application method. Existing loose render, defective coatings or unresolved repairs can affect preparation. Where removal is needed, define it and the subsequent work to the masonry. The repair guide and pebbledash page help distinguish those operations from the insulation installation itself.
Do not accept a collection of individually familiar products as proof of a suitable combination. The specification should identify the relevant system guidance and the responsibilities for its design and installation. Any proposed substitution needs to be reviewed against that specification before it is used.
| Location | What changes |
|---|---|
| Window sill | Projection and weathering relative to the new face |
| Eaves or verge | Relationship between roof edge and thicker wall |
| Downpipe | Clearance, brackets and maintenance access |
| Wall base | Termination, ground and existing moisture details |
| Adjoining uninsulated wall | Thermal continuity and visible transition |
| External fittings | Loads, fixings and sealing through the system |
Check whether the roof and sills can accommodate it
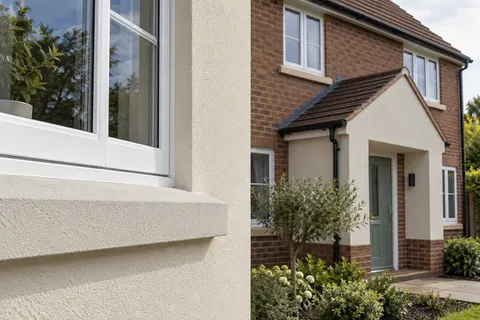
The additional thickness may reduce the useful projection of a sill or roof edge. The design should show how water is shed beyond the finished surface and how the junction remains maintainable. A neat bead cannot make an inadequate weathering projection suitable. If a sill or roof detail needs alteration, identify the trade and include the work in the overall scope.
Where a roofline upgrade is already planned, coordinate the access and sequence. Shared access can be useful, but the final details must agree on the position of the insulated wall. Completing one trade's work against an assumed thickness can leave the next trade with an avoidable problem. The drawings and quotation should refer to the same build-up.
Treat a small extension as a real design problem
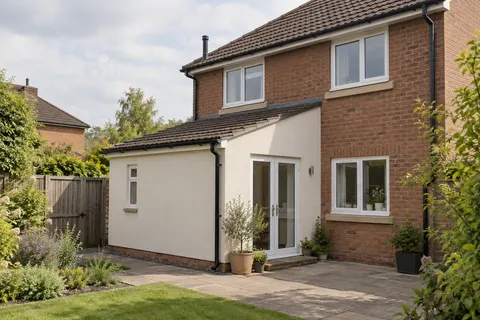
Insulating an extension separately can create transitions at the original house, roof and floor level. The proposal should explain how those junctions are handled and what remains outside the thermal upgrade. A limited scope can be appropriate, but it should not be described as if the entire building will perform in the same way afterwards.
The visual transition also needs a decision. A thicker wall can create a step beside an unchanged elevation, while matching colours may make the difference less obvious without removing it. The wall rendering guide helps define the external boundary, and house rendering considers a more extensive coordinated refurbishment. Neither replaces the thermal detail.
Plan services and attachments before covering the wall
Pipes, vents, flues, cables and fixtures may need alteration or specialist handling. Their function and required clearances must be maintained. The quotation should identify who deals with each item, when it is moved and how it is supported afterwards. Simply adding longer fixings is not a universal answer for every attachment.
Loads and future maintenance matter too. A light fitting and a heavy bracket can have different requirements. The system detail should accommodate the intended use without relying on an improvised fixing through the completed finish. Record the position and type of concealed fixing provisions where they will be useful for later work.
Allow for occupied-home working arrangements
External work can affect windows, doors, paths and the spaces used daily around a home. Agree access and separation before the project starts, including delivery and waste routes. Preparation may be more disruptive than the final application, so a programme should describe the stages rather than presenting the whole job as a simple coating operation.
Weather and product conditions govern the application sequence. The system must be protected and allowed to reach the required state between stages. A promised completion date should be supported by a realistic plan for those conditions, with a clear process for changes if the work cannot proceed as expected.
Keep the design and maintenance information
At handover, retain the system specification, product references, relevant design details and care instructions. They matter when a later window, pipe or bracket is altered. A future contractor needs to know what is beneath the finish and how an opening or fixing should be treated.
Review the completed junctions and reinstated fittings against the agreed scope. Record unfinished work and defects separately. The benefit of the upgrade depends on the whole installation, so the final review should cover more than an attractive colour. No generic saving figure can replace an assessment of the actual building and completed design.
Common questions
Can just one extension be insulated?
It may be possible, subject to a suitable assessment and design. The junctions with the rest of the building and the limits of the thermal upgrade need to be clear.
Is the silicone finish the insulation?
No. It may form the decorative outer layer of an insulation system. The insulation material, thickness, fixings and other layers have separate roles and should be identified in the specification.
See housing and planning information for Sandbach and nearby places, including the source and geography behind each figure.